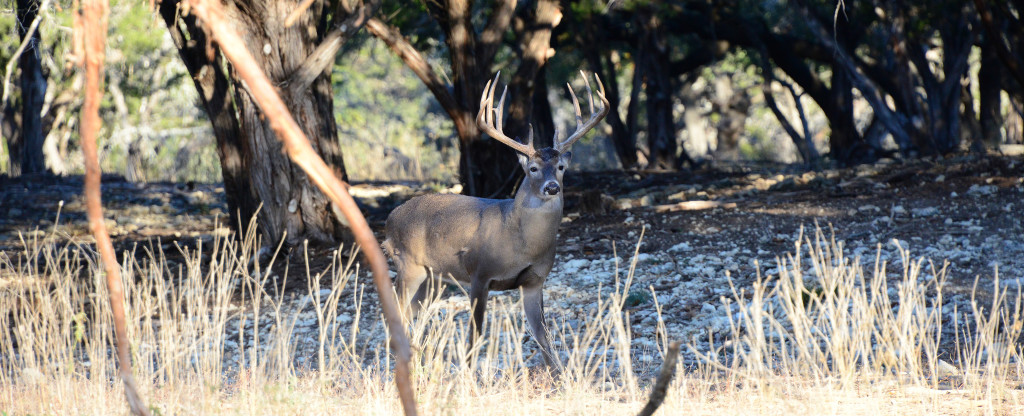
Knowing how to cape a deer is an important skill for any hunter. You definitely want to be prepared should you successfully bag a trophy animal that you want to have mounted. Many hunters go into each season dreaming of harvesting a huge buck that they can hang on the wall. Still, no matter how big that buck is, knowing how to cape a deer in the field could mean the difference between a beautiful mount and one that's not so nice.
Although many advancements have been made in taxidermy over the years, even the best taxidermist isn't a miracle worker. This means it is important that you know what you're doing when it comes time to cape your deer. The biggest key here is making sure to leave enough of the cape intact. The taxidermist can always cut excess hide away, but they can't sew extra hide on if it's cut too short. As well, you need to take extra special care if you plan on fully skinning the skull, as it is quite easy to mess up the eyes and mouth.
Why Cape a Deer?
Caping a deer is actually quite a simple process and only requires a few cuts if you plan on taking the entire skull with you. Still, if you have a long hike out or it will be several days before you can get the cape to the taxidermist, you may want to take the extra time to learn how to fully cape the head, as this will allow you to just take the cape and the skull plate with antlers instead of having to pack out the entire skull.
There are really two main reasons for caping a deer:
- To reduce the amount of weight you have to pack out if cutting the animal up
- To allow the cape to fully cool down to ensure it is in perfect condition for mounting
Essentially, if you plan on taking the deer to the taxidermist the day you shot it, and you can easily pack the animal out without dragging it, then there's really no reason to cape it, as the taxidermist can do it for you (and probably do a better job).
For those who want to do it themselves, here's step-by-step instructions on how to cape a deer head for mounting. The steps are basically the same for mule deer and whitetails, so follow on to see how its done.
Getting Started
The most important factor in caping a deer is to make sure you have a high-quality, sharp skinning knife at hand. In fact, you may even want to consider investing in a skinning kit, as this will give you a few smaller tools that can come in handy if you're skinning the skull itself. It's vital that you make sure your knife is fully sharp before you begin, as this will not only make things much easier, but also help prevent you from making a huge mistake that could ruin your cape.
If you do need to drag the deer before you cape it, it's important to only ever tie the rope around its antlers, as tying it around the neck can ruin the fur. Similarly, make sure you put a tarp, jacket or some other item under the deer when dragging it to prevent the fur from being rubbed off.
HOW TO CAPE A DEER
Step 1:
Now that you've got your knife handy, the first step to caping the deer is to make a cut an incision all the way around the midsection of the animal. This cut needs to be far enough back to leave enough hide intact for the shoulder mount, so it’s a good idea to make this cut just behind the rib-cage just to be sure.
Step 2:
After cutting around the midsection, start at the back of the head and make a cut from just in between the ears down until you meet the first cut. Make sure that this cut is directly in the center of the neck. After making the cut down the neck, make an incision at the base of each antler down to the beginning of the neck cut. These two cuts should be done at around a 45-degree angle so that they make a Y branching out from the cut at the back of the head.
Step 3:
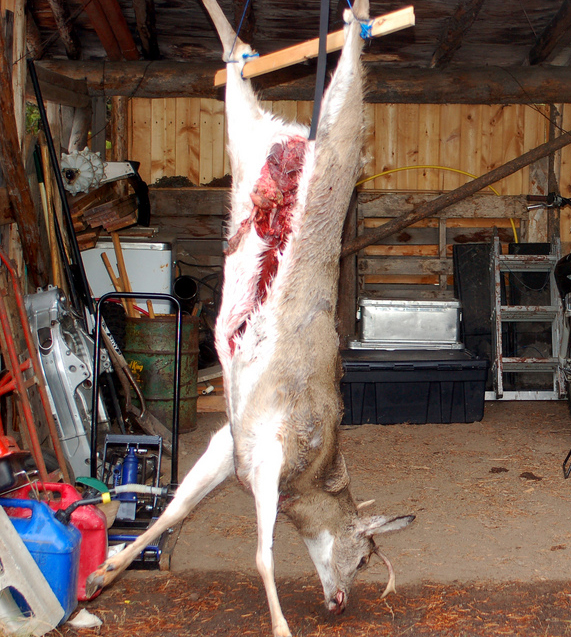
The next step is to cut a circle around each front leg, right at the knee, and then begin to skin the deer as you normally would. Starting at the back, center of the body, use your knife to slowly skin your way forward until you have skinned everything up to the neck.
When skinning the legs, skin from the top down until the hide is fully free and then simply pull it over the front legs (or cut the legs off at the knee to make it easier). It's important that you leave the hide all the way up to the knees, as this is needed for tucking up under the mount.
If you're skinning the deer on the ground, it's a good idea to fully skin one side, and then put the hide back in place before rolling the animal over and skinning the other side. This will help to keep the underside of the hide free of dirt and debris, which is an important factor in helping to preserve the hide for mounting. As well, it's also important to make sure that you take as much meat off the hide as possible, without cutting holes into the cape. Meat retains heat and can cause your cape to spoil, so make sure you leave as much of the meat on the deer as you can.
Step 4:
Once you've skinned all the way to the head, the next step is to cut the head off. This can easily be done by making an incision at the base of the skull, just where it meets the last vertebrae at the neck. At this point, you're generally better off stopping right here, as skinning the actual skull can be quite tricky and can easily ruin your cape if you're not extra careful. For this reason, it is really recommended that you leave this last part to a professional taxidermist. Still, here's how to do it for those who want to give it a try.
How to Cape a Deer Skull
Once you've got the cape and head removed from the deer, you'll want to start from the back of the neck, skinning your way up to the antlers. As you go, cut the ears off of the skull, making sure to cut them as close to the base of the skull as possible. When you reach the antlers, turn your knife upwards and slowly skin around each antler, using one hand to pull the hide away as you cut the skin from the bone.
After skinning the antlers, work your way down to the eyes. When you reach the eyes, place your finger inside the eye socket so you can feel exactly where the back of the eye meets the bone. This is one of the easiest areas to mess up, as many people end up cutting a bit of the back of the eye off. After cutting the back and sides of the eyes, pull the hide forward and then cut the front of the eye, again making sure to get as close to the bone as possible to prevent ruining the eye.
Now, turn the head over onto its antlers, and using your finger, feel inside the mouth and cut the skin away from the corner of the mouth as close to the bone as possible. This is another area where it is super easy to make a mistake and cut it too short, so be extra careful. Now pull the hide forward again and skin along the gums, making sure to leave around 0.5-inch of the gum on the hide.
Finally, keep skinning your way down the head until you reach the nose, and then cut the nose off right where it meets the bone.
What to Do After Caping a Deer?
Now that you've got your cape ready for mounting, it's important to take care of it properly to ensure that it's in the best possible condition for the taxidermist. The first thing you'll want to do is either hang the cape up or lay it flat on a clean surface with the underside of the hide facing up. Let the hide sit like this for 20-30 minutes or until it is fully cooled. However, make sure that you don't let it sit in the sun,
Once the hide is cooled, you can then roll the cape up to keep it from being damaged during transportation. When rolling it up, make sure to roll it up with the skin on the inside, as the fur on the hide will help to insulate the skin and keep it cooled. To keep the cape clean, you might want to consider putting it in a plastic bag. However, white game transport bags are best, as black plastic bags will absorb heat and possibly ruin the cape.
The most important factor once you've learned how to cape a deer and then successfully done it is to keep the cape clean, as even the best caping job can be ruined if you don't properly take care of it afterwards.


