 Whether wild or domestic, there are very few animals that are as easy to skin as a rabbit or hare. This is because the skin is loose and not tightly connected to the meat of the animal.
This is great for the hunter, especially since wild rabbits and hares can breed and populate so rapidly that they can get out of hand. This means that they are often plentiful and are an animal that is hunted extensively, without making much of a dent in the population. Skinning the animals is necessary prior to eating them and since rabbits and hares are great tasting animals, it makes sense that a person would want to know how to quickly remove the skins so the carcass can then be cooked up.
You could be astonished about just how easy it is to go about skinning rabbits and hares.
Rack for Skinning Rabbits
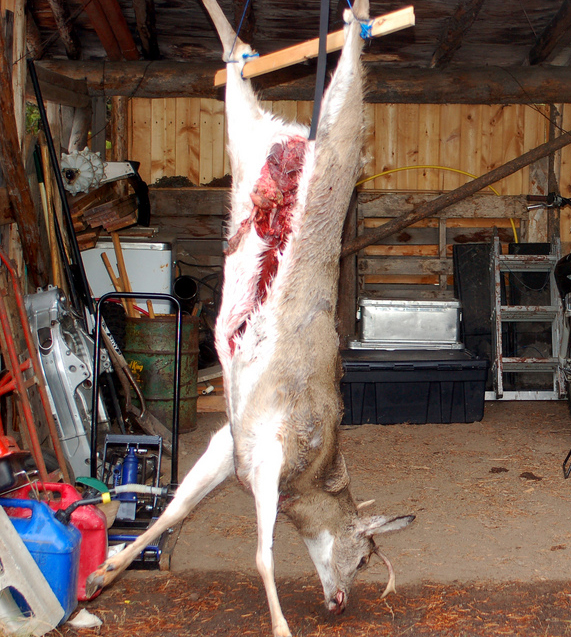
Though not absolutely necessary, it is a good idea to set up a skinning rack for skinning rabbits. This is extremely easy to do, since it can simply be two sturdy 10-penny nails that are hammered about halfway into the side of a shed or a board. The purpose is to hold the rabbit in place. This lets you quickly go about skinning rabbits without needing the help of someone else and it speeds the whole process up.
Initial Cuts for Skinning Rabbits
Step #1
Tie or otherwise secure the rabbit’s front feet to the skinning rack. You can do this with rope, stout string or some wire. It needs to be tight around the feet because you will be pulling down against it. The rabbit should also be hung so the underside is facing you.
Step #2
Carefully cut around all four paws (below the rope, string or wire on the upper legs), with the knife blade slid in between the meat and the skin. You don’t want to cut into the flesh, you just want to cut the skin all the way around.
Step #3
Cut in the same way all the way around the neck, again making sure that you aren’t cutting into the meat.
Step #4
Next, make an oval shaped cut all the way around the anus and vent. Once again, hold the knife so the blade is facing outward when you make this cut so it slices through the skin but doesn’t cut into the meat. You don’t want to cut into the meat during this entire process if you can possibly help it.
Step #5
From the top of the oval cut, slice through the skin up the center of the belly and all the way to where the skin has been cut around the neck. Do the same thing with all four legs, on the inside of the legs and all the way to where the pelt has been sliced at the wrists. Once you do this, the hard part is over.
Removing the Skin
Reach behind the carcass and grasp the pelt so your finger tips are under the skin and above the meat. Using steady pressure, pull downward. The skin should strip off easily. You may need to pause right at the front and rear quarters to remove the pelt from the legs, but except for right along the backbone, the skin shouldn’t be tightly attached to the meat.
Keep pulling all the way down, also stripping the pelt off the tail. Not only should this remove the skin, it should also leave you with a pelt that can be processed for use. You may need to use a bit of extra caution around any bullet or pellet holes to prevent the pelt from tearing, but the pelt should come off easily.
Final Prep After Skinning
 After the pelt is removed, you are free to remove the animals entrails, rinse it, cut it (if this is what you want to do) and cook it. The skinning part is incredibly simple, so it shouldn’t take much time at all to get the rabbit from freshly killed to ready for cooking. In fact, the skinning, gutting, rinsing and quartering shouldn’t take much more than 15-20 minutes per rabbit, even if you are taking your time and being very careful with the sharp knife. Once you get used to doing it, you will probably be able to lessen the time per animal by half.
Skinning rabbits is easier than skinning nearly any other beast. The amount of necessary knowledge for skinning rabbits is small and the time expenditure is also short, for getting the job done properly. Done correctly, not only should you easily master skinning rabbits, you should end up with a usable pelt with each, as well as meat that is ready to cook up into one of the fantastic rabbit meals these creatures are known for.
Give these steps for skinning rabbits a try and see just how easy it is to take care of this detail, on your way to having some delicious and healthy fried rabbit, rabbit stew or one of the other fabulous rabbit dishes.
Images by James Higgot and Garitzko


